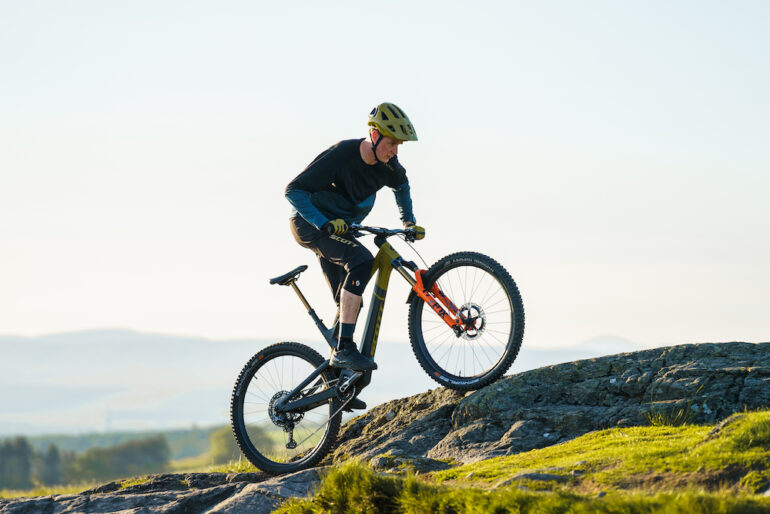
In this post, we delve into the wisdom of two seasoned professionals: Scotty Laughland, a renowned PRO Community Rider and MTB star, and Sharjah Jonsson, another PRO Community Rider.
Scotty Laughland shares his expertise on optimizing saddle setup, emphasizing the importance of height, rails adjustment, and angle to enhance riding style and comfort.
Sharjah Jonsson offers a comprehensive four-step process for bike customization, covering protection, baseline setup, testing changes, and effective comparison. Their combined insights give readers a wealth of knowledge to elevate their mountain biking experience to new heights.
Make It Yours: Setting Your Saddle Up for Performance
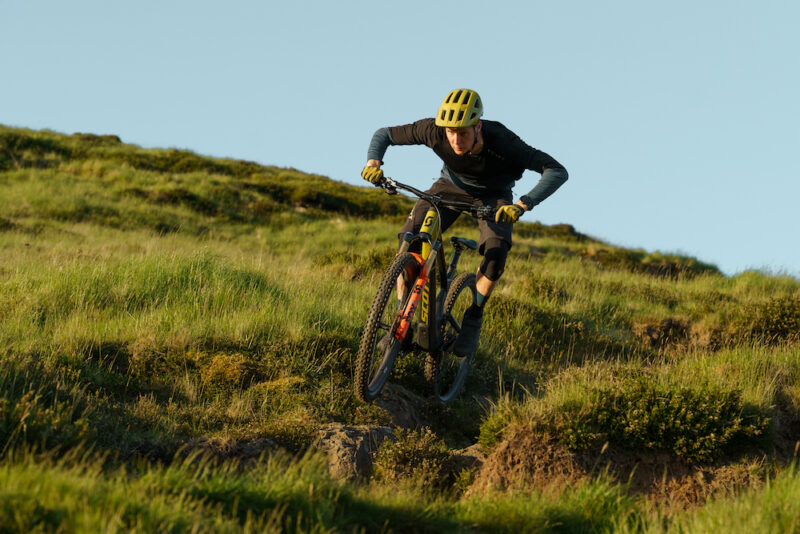
When optimizing your perfect MTB setup, there’s more to saddle comfort and performance than choosing the right one. Scotty Laughland, a renowned PRO Community Rider and MTB star emphasizes that setting up your saddle correctly is crucial in enhancing your riding style and overall comfort. This guide will delve into Laughland’s insights on achieving the perfect saddle setup.
Finding the Right Saddle Height
According to Laughland, the first step is establishing the correct saddle height. Fit your chosen PRO saddle to your bike and wear your riding shoes.
Adjust the saddle height to align with your hip bone. As you sit on the bike and place your foot on the pedal, ensure you can drop your heel from flat with the pedal at the 6 o’clock position to about 30 degrees.
Avoid locking out your leg completely, as this could lead to discomfort during the ride. Be patient with this process, as fine-tuning might require a few attempts.
Adjusting the Saddle Rails
Achieving the correct saddle height is just the beginning. Laughland’s following advice focuses on adjusting the saddle rails for optimal body positioning.
With the saddle set at the right height, sit on your bike and position the cranks horizontally.
Place your favored foot forward and pay attention to how your hips feel in the saddle. Imagine the saddle as a comfortable scoop that supports your body’s natural alignment.
Adjust the saddle rails laterally to find the sweet spot until you feel secure and comfortable. Mark this position for future reference.
Nailing the Saddle Angle
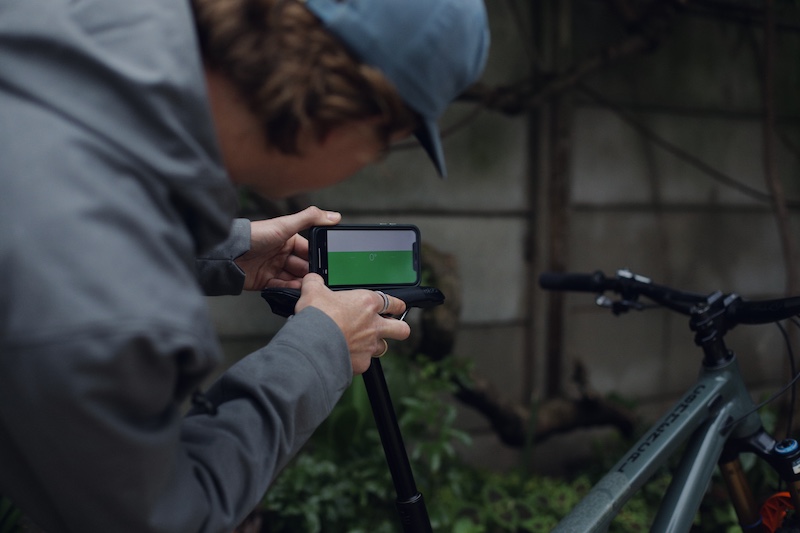
Getting the saddle angle right is a crucial aspect of your setup, and it varies based on your mountain bike’s style.
For cross-country riding, you might want a slight drop at the nose of the saddle to facilitate easy movement during technical climbs.
On the other hand, for gravity-based riding and descents, a slightly upward-angled nose can help you shift your weight to the rear wheel, enhancing control and grip.
Remember that the bike’s seat tube angle and suspension sag play a role, particularly in full-suspension setups.
A Trial-and-Error Approach
Laughland advises establishing a neutral base position and then taking your bike for a ride on a familiar route. This trial run allows you to gauge how your saddle setup feels in actual riding conditions.
Depending on your comfort level, performance, and overall feel during the ride, you can make subtle adjustments to fine-tune the setup. Perfecting your saddle setup is ongoing; changes might be necessary as your riding style evolves.
Four-Step Bike Setup Process by PRO Community Rider Sharjah Jonsson
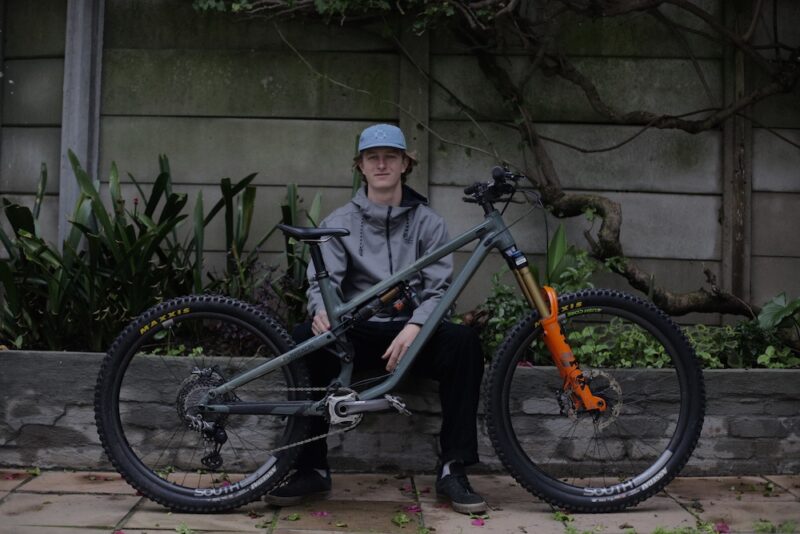
In addition to Laughland’s saddle setup insights, another PRO Community Rider, Sharjah Jonsson, shares his four-step process for tuning your bike setup for peak performance.
This comprehensive method encompasses protection, baseline setup, testing changes, and comparing those changes for a personalized and optimized riding experience.
1. Protection Comes First
Jonsson’s approach to perfect MTB setup starts with protection. Safeguard your bike from wear and tear by applying protective guards in areas prone to damage. You ensure your bike’s longevity and maintain its resale value by using products like PRO’s Frame Guard Set, Chainstay Protector, and Crank Protector.
2. Establish Your Baseline
Measuring and logging your baseline settings provide a powerful reference point. Use tools like the PRO Tharsis 3Five cockpit’s markings and PRO saddles’ measurements to track angles and positioning.
When experimenting with changes, this logged data serves as a safety net—you can always revert to your original settings if needed.
3. Test and Adjust
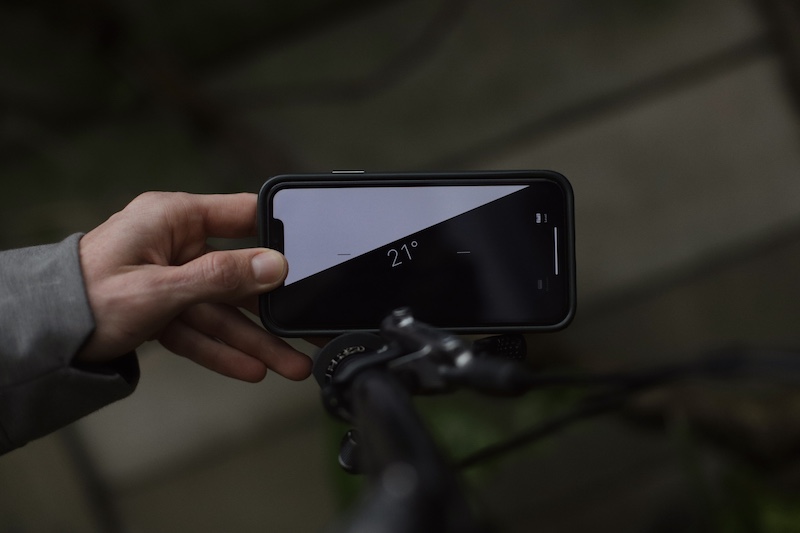
Jonsson recommends a systematic testing approach. Experiment with setup settings such as bar roll, stack height, lever angles, saddle angle, and saddle position.
Move on to component settings like handlebar width, handlebar rise, stem length, and saddle width. This stepwise adjustment process allows you to identify what works best for your riding style and preferences.
Try the parts selector from Pro-bikegear if you’re not sure where to start.
4. Compare and Fine-Tune
After testing new settings, it’s time to compare and analyze. Avoid changing too much at once to pinpoint specific effects accurately.
Jonsson emphasizes the importance of listening to your body and noting how settings affect your ride. Every rider is unique, and the “perfect setup” is a personalized blend of factors like size, style, and preference.
As your body and skills evolve, your setup might need adjustments.
The perfect MTB setup requires attention to detail, experimentation, and a willingness to adapt. Whether you’re focusing on saddle optimization or following Jonsson’s four-step process, the key is to make your bike truly yours—a machine that complements your style, enhances your performance, and maximizes your enjoyment on the trail.

